A hole in a wall looks like a small project because the damage occupies so little space. The finished repair often involves a much larger area, several materials and more than one stage. Filling the hole, recreating the surface and making the paint look consistent are related tasks, but they are not the same task. Knowing the difference helps you request a result you will actually be happy to live with.
Start by describing what happened and what you can see. An old picture hook, a door handle impact and a stain beneath a window tell different stories. The purpose of the first conversation is to determine whether this is a straightforward cosmetic repair or a symptom that needs investigation before finishing can begin.
Name the damage without diagnosing it
Give each repair a location and a simple description. For example, identify a dent beside the hallway cupboard, a hole where a shelf was removed or a crack above the bedroom door. Add approximate dimensions and photographs showing both the mark and the surrounding wall. This lets the person assessing the job understand scale and context together.
Include when you first noticed the damage and whether it has changed. A crack that returns after previous repairs deserves that history. A stain that appeared after a storm is different from an old, dry mark whose cause was already corrected. If you do not know the cause, say so rather than supplying a confident explanation based on appearance.
Avoid pressing on a suspect area, removing material or enlarging an opening to take a better photograph. Loose material, dampness and unknown wall contents can change what precautions are needed. An assessment can establish how to proceed without asking you to investigate the wall yourself.
The request should also explain why you want the repair now. You may be preparing a room for a child, changing a furniture layout or returning a rental property. Those circumstances affect timing and finish priorities. A wall behind a future wardrobe and a wall beside a large south facing window may warrant different finishing discussions even when the holes are similar.
Separate the underlying problem from the surface result
If moisture is involved, repairing the visible finish before addressing the source risks repeating the work. Tell the assessor about leaks, condensation, plumbing work or exterior repairs connected with the area. Provide records if they exist. The person repairing the wall should know what has been resolved and what remains uncertain.
Movement is another reason not to promise a permanent cosmetic result too quickly. A recurring crack, a shifting frame or a wall that feels unstable may need a more specialized assessment. This is not a diagnosis of structural damage. It is a sensible boundary: finishing products cannot establish why a building component is moving.
The same distinction applies to damaged corners and areas around fixtures. A repair may need attention to the supporting detail or the source of repeated impact, not only a fresh surface. Ask whether a door stop, furniture change or another practical adjustment would help protect the repair once the cause has been assessed.
Write the sequence into the scope. It might be assessment first, correction of the underlying issue second and wall finishing afterwards. Keeping these decisions separate prevents a cosmetic quote from being mistaken for a promise to solve every possible cause. It also makes it easier to identify the right professional for each part.
Establish what the wall is made of
Painted surfaces can conceal different wall systems and several generations of renovation. Tell the contractor the age of the home if known and any history of wall replacement. Mention plaster, textured coatings, wallpaper or unusual panels where you know they are present. Do not assume that every smooth painted surface is ordinary drywall.
Older materials require particular care before disturbance. Health Canada advises avoiding materials that may contain asbestos and using professional testing before renovation where appropriate. Its guidance on lead based paint also matters when older finishes will be disturbed. Ask how the assessor will address uncertain materials rather than expecting routine sanding to begin immediately.
You do not need to order random tests without discussing the actual work. The proposed disturbance, material history and location should inform the assessment. Share any existing reports, while recognizing that a report about one material may not answer questions about another. A document is useful evidence only when it applies to the area being repaired.
Where a wall serves a special building function, the repair may have requirements beyond appearance. A condominium, garage separation or shared wall can need a different review from a decorative partition. Obtain relevant building information and permissions. Do not ask a cosmetic repair provider to infer those requirements from a room photograph.
Agree what patching includes
The word patching is used loosely. One quote may cover restoring the damaged area to a paint ready surface; another may include primer and finish paint. Ask the provider to state the endpoint in plain language. You should know whether the wall will be ready for someone else to paint or whether the agreed work includes a completed painted surface.
Ask about texture as well. A smooth patch can stand out on a lightly textured wall, even when the colour is close. Conversely, an existing wall may have a pattern of old roller marks that cannot be replicated perfectly over a small spot. Describe your expectations and let the provider explain what can reasonably be matched.
Corners, edges and locations beside trim may need different preparation from an open area of wall. Include them in photographs rather than cropping tightly around the damage. A patch beside a cabinet may have limited working access; one behind a radiator may involve a separate trade or a change of approach. Access is part of the job, not an incidental detail.
For multiple repairs, number the locations. A short inventory keeps a tiny hole behind a door from being forgotten and helps compare quotes fairly. It also prevents the scope from expanding invisibly as you walk through the house. Additional discoveries can still be discussed, but they should be added deliberately.
Understand why matching paint is a separate decision
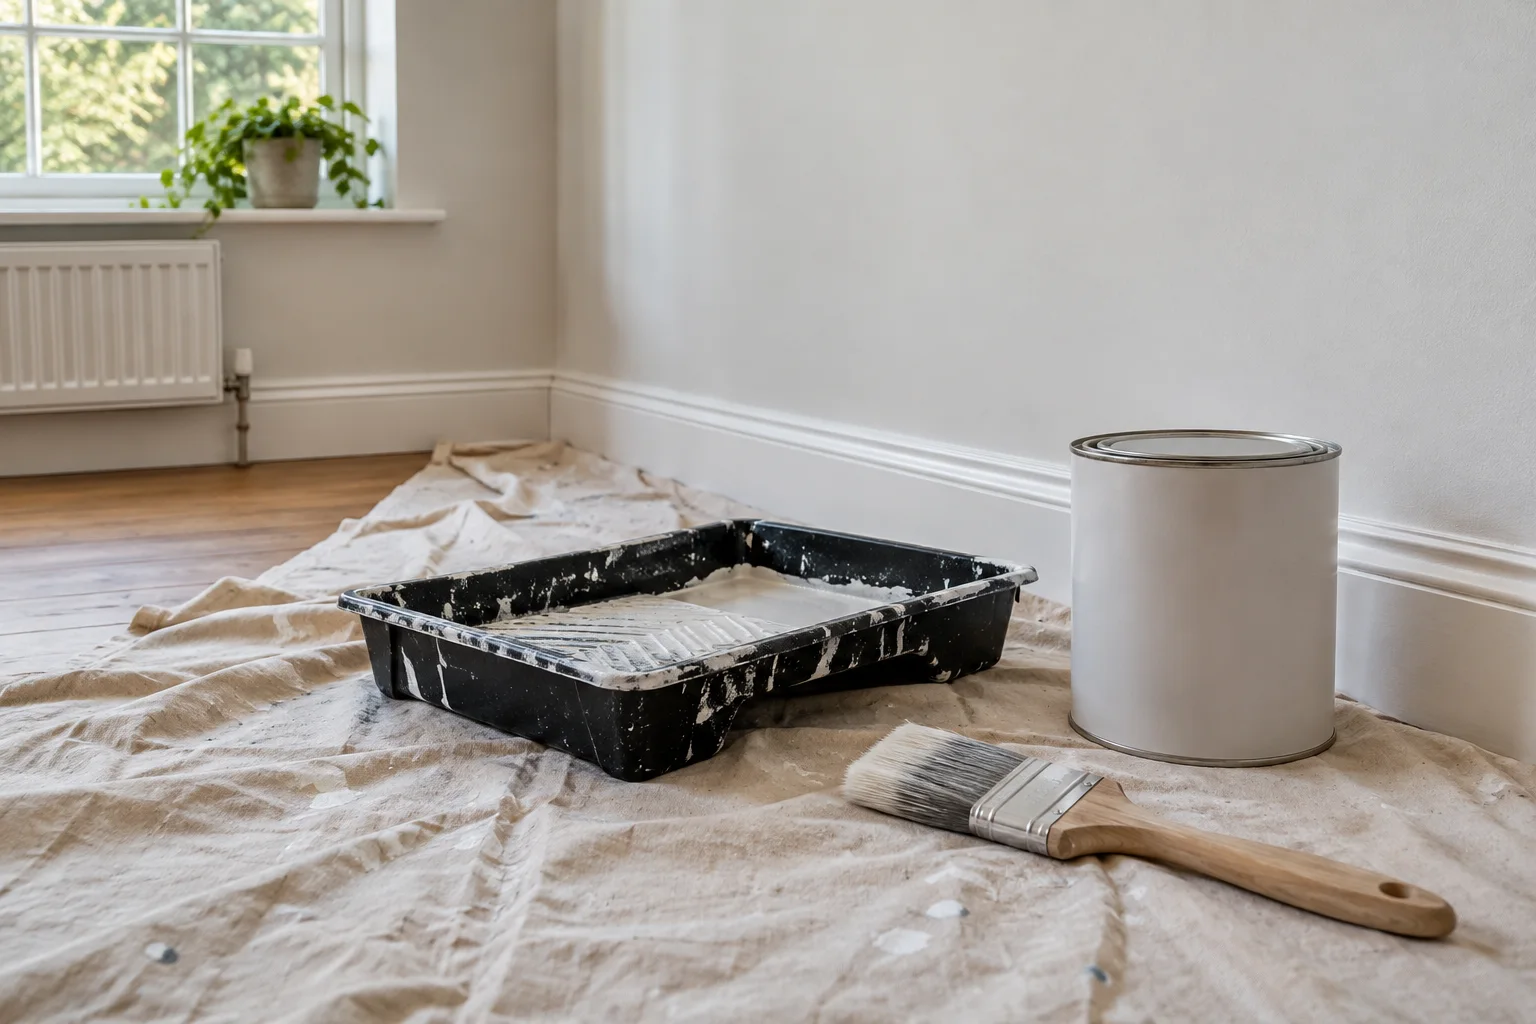
An old tin with the original colour name is helpful, but it is not a guarantee of an invisible touch-up. Existing paint can change in appearance through light exposure, cleaning and wear. Benjamin Moore’s touch-up guidance also identifies sheen as an important part of matching the existing finish. Application method affects the appearance too. A new patch may look different even when the label matches.
Show the provider any leftover paint and the complete label. Let them determine whether it remains suitable rather than assuming it can be used because the lid still closes. Record the brand, product line, sheen and colour formula if available. A colour name without the product details leaves important information missing.
Discuss the painting boundary before work begins. A spot touch-up, a larger blended area and painting a complete wall are different scopes. Painting to a natural corner can sometimes provide a clearer visual boundary, but it also changes preparation, material needs and room disruption. Ask for options instead of asking for an undefined perfect match.
Look at the wall in ordinary daylight and under the lamps you normally use. Raking light can make surface differences more noticeable. Tell the provider if the repair sits opposite a prominent window or beside a light that regularly shines along the wall. The finish expectation should reflect the actual room rather than a flattering inspection angle.
Give drying stages room in the calendar
A small repair can require several visits because each stage must be ready for the next. The elapsed time is not the same as hands-on labour. Ask the provider to explain the likely sequence and which intervals depend on the chosen products and conditions. Avoid demanding a fixed same-day result before the wall has been assessed.
If the room must be usable by a particular date, work backwards from that date. Include the time needed for paint to be ready for normal use, not merely dry enough to look finished. Product instructions should guide drying and curing expectations. A household schedule should leave room for those instructions rather than pressure someone to skip them.
A repair before a move or photography appointment needs extra coordination. Arrange the finishing work before furniture returns to the wall, curtains are rehung or photographs are taken. Tell everyone involved which surfaces must remain accessible and which items cannot yet touch fresh paint. Small misunderstandings at this stage can undo careful finishing.
When several repairs are in one room, ask whether they can be staged together efficiently. This may reduce disruption, but it does not eliminate material waiting periods. A realistic schedule is more valuable than a promise that treats every filler, primer and finish as interchangeable.
Prepare for dust control and a practical working area
Ask how the provider will protect floors, nearby furniture and the rest of the room. Discuss the actual preparation methods after material hazards have been considered. The household should understand where work will occur, which items must be removed and whether the room can remain occupied during any stage.
Clear small belongings yourself if you can do so safely. Move photographs, bedding, electronics and items that are difficult to clean from the immediate area. Discuss large furniture before the appointment. A full bookcase is a moving task in its own right, and shifting it may require help or emptying well before the repair begins.
Plan access to water or power only as requested, and identify a suitable route through the home. Let the provider know about fragile floors, recently finished surfaces and any access restrictions. These details are easier to accommodate when they appear in the brief rather than after equipment has been brought inside.
Keep pets and children out of the active area and arrange an alternative work space if the room is your office. Dust protection is useful, but it does not make the middle of a repair a convenient place for meetings or homework. A little planning around room use reduces interruptions for everyone.
Compare quotes by stages and boundaries
Ask each provider to quote the same numbered repairs and finish endpoint. Include whether wallpaper removal, trim work, primer, paint and waste removal are involved. If the wall needs assessment before a firm quote is possible, distinguish that assessment from the later repair proposal. An honest uncertainty is easier to manage than an unexplained allowance.
Clarify who buys materials. Owner supplied paint may be appropriate, but the provider should confirm suitability and quantity. If the provider supplies it, ask how the colour will be approved and whether leftover material will be labelled for your records. Do not assume that a matching colour will be selected without your input.
Agree on the process for discoveries. If the surface reveals a moisture problem, an unexpected material or a larger damaged area, work may need to pause. The quote should explain how the provider will communicate a revised recommendation and obtain authorization. You should not discover the new scope only when the invoice arrives.
A useful brief includes the following points:
- A numbered repair list with photographs and approximate sizes.
- The cause and history where known, including earlier repairs.
- The desired finish and painting boundary for each location.
- Available paint information and any material assessment records.
- Access arrangements, room deadlines and building permissions.
- Which cleanup and furniture moving tasks are included.
Review the finish fairly and keep a record
Inspect the completed work after the agreed finishing stages, using normal viewing positions and the room's usual lighting. Review the paint boundary and surface consistency against the scope you accepted. A paint ready patch should not be judged as a painted wall, and a spot touch-up should not be confused with a full wall repaint.
Raise concerns clearly and promptly. Identify the location and what you see, such as a visible ridge, an uncovered area or a colour difference. Ask the provider to explain whether the issue is part of the agreed finish or requires another scope. A specific observation is easier to resolve than a general statement that the wall does not look right.
Keep the paint details and a note of what was repaired. If a crack or stain returns, that history helps the next assessment. Do not repeatedly conceal a recurring problem without asking why it is returning. The record need only be a few photographs and a dated note stored with household maintenance information.
If wall repairs are part of a larger to-do list, use the handyman visit guide to separate ready work from items needing assessment. The furniture assembly guide can help coordinate new furniture after finishing. Cody's handyman offering remains a waitlist while a partner is recruited, so use the page to register interest rather than assume immediate appointments. The most useful preparation is a clear repair brief and a realistic definition of finished.